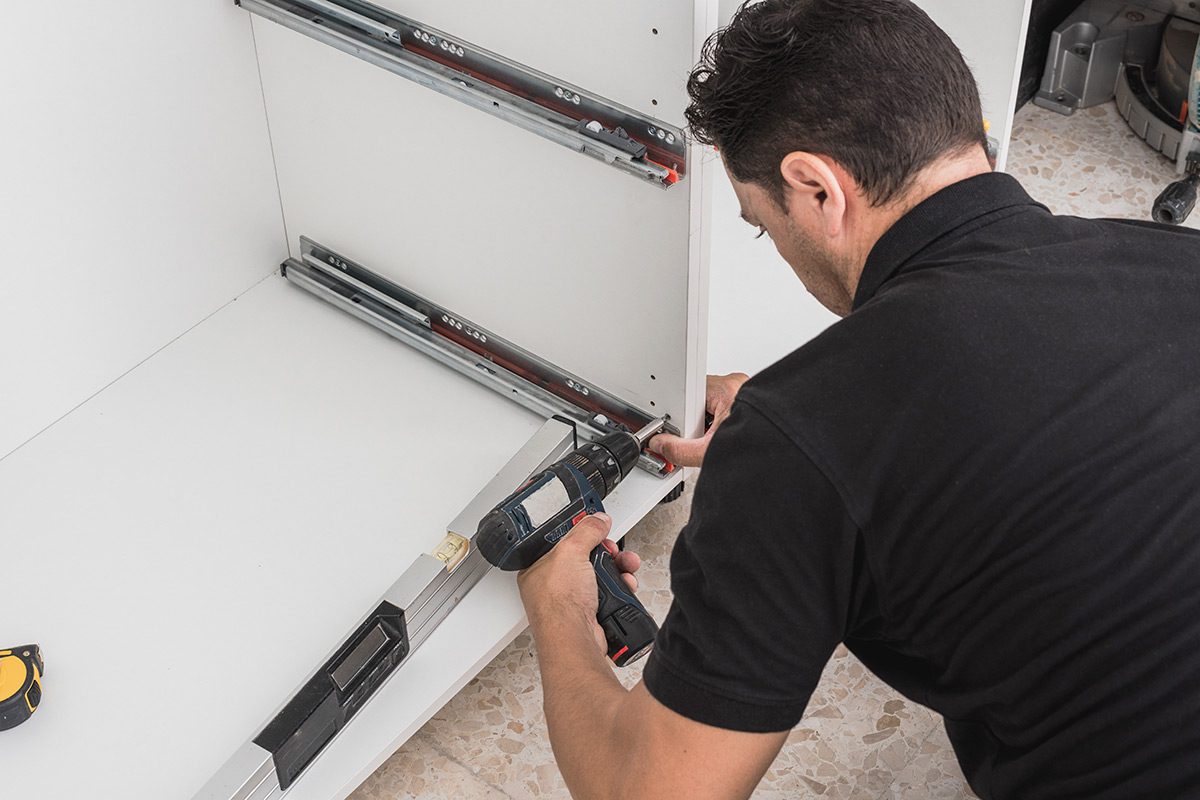
There are many kinds of drawer slides one can either construct or purchase. In this guide, we look at one of the most popular: full extension ball bearing slides. They are durable, easy to install and long lasting and can be installed by anyone!
Costs:
This is an inexpensive project with the parts costing around $12. It will take an average time of twenty minutes to complete and as long as you can carefully measure, you will see the slide screws go right into place.
Tools:
- Pencil
- Tape Measure
- Straight edge or Ruler
- Driver/Drill
Materials:
- Pair of ball bearing full-extension drawer slides. In our example, we will use 14 inch slides
How To Install Drawer Slides – Step By Step
- Mark The Placement Of The Slide. Measuring from the inside floor of the cabinet to a point of 8.75 inches neat front and back of each side wall. Using the marks as a guide, take a ruler and draw a level line on each inside wall of the cabinet. Then make a mark 7/8ths of an inch from the front edge of the cabinet, hence allowing room for the thickness of the drawer front plus a 1/8th of an inch inset.
- Position Of The Slides. Align the bottom edge of the first slide above the line and then. position the front edge of the slide behind the mark near the face of the cabinet.
- Slide Installation. Hold the slide firmly in place and push the extension forward until both sets of screw holes can be seen. Using a drill/driver, drill shallow pilot holes in one screw hole near the front and back of the slide. Using the screws provided, mount the slide to the inside of the cabinet. Then you need to repeat steps 2 and 3 in order to mount the second drawer slide on the opposite side of the cabinet.
- Marking The Drawer Slides. With a tape measure, mark the center of the height of the drawer box on its outer side walls. Using a straightedge, mark a horizontal line along the outside of the drawer box on each side.
- Positioning The Slide Extension. Take the detachable section of each drawer slides, and place them on the corresponding drawer side. Position the drawer slides so that they are centered on their corresponding line and flush with the face of the drawer box.
- Slide Attachment. Using a drill/driver and the screws provided with the drawer slides, mount the slide to the drawer.
- Insert The Drawer. Hold the drawer level in front of the cabinet. Place the ends of the slides attached to the drawers into the tracks inside the cabinet. Pressing evenly on each side of the drawer, slide the drawer into place. The first slide inward can sometimes push a bit tougher, but once the tracks are engaged, the drawer should slide back out and in smoothly.
- Positioning The Drawer Face. Apply wood glue to the face of the drawer box. With the drawer closed, position the drawer face with equal gaps along the top and side edges. Using clamps, secure the drawer face against the drawer box.
- Attaching The Face Of The Drawer. Carefully slide the drawer open, and then drive 1-inch screws through the holes in the drawer box and into the back of the drawer face to secure it in place.
Nationwide Drawer Slide Supplier
If you have broken drawer slides, are starting a new cabinetry project, or are simply remodeling your kitchen or bathroom Drawer Connection has the best selection of drawer slides. We have soft close, push to open, self-close, and many more quality options that keep your drawers opening and closing smoothly. Visit our site to get started or call us at 877-917-4887.


