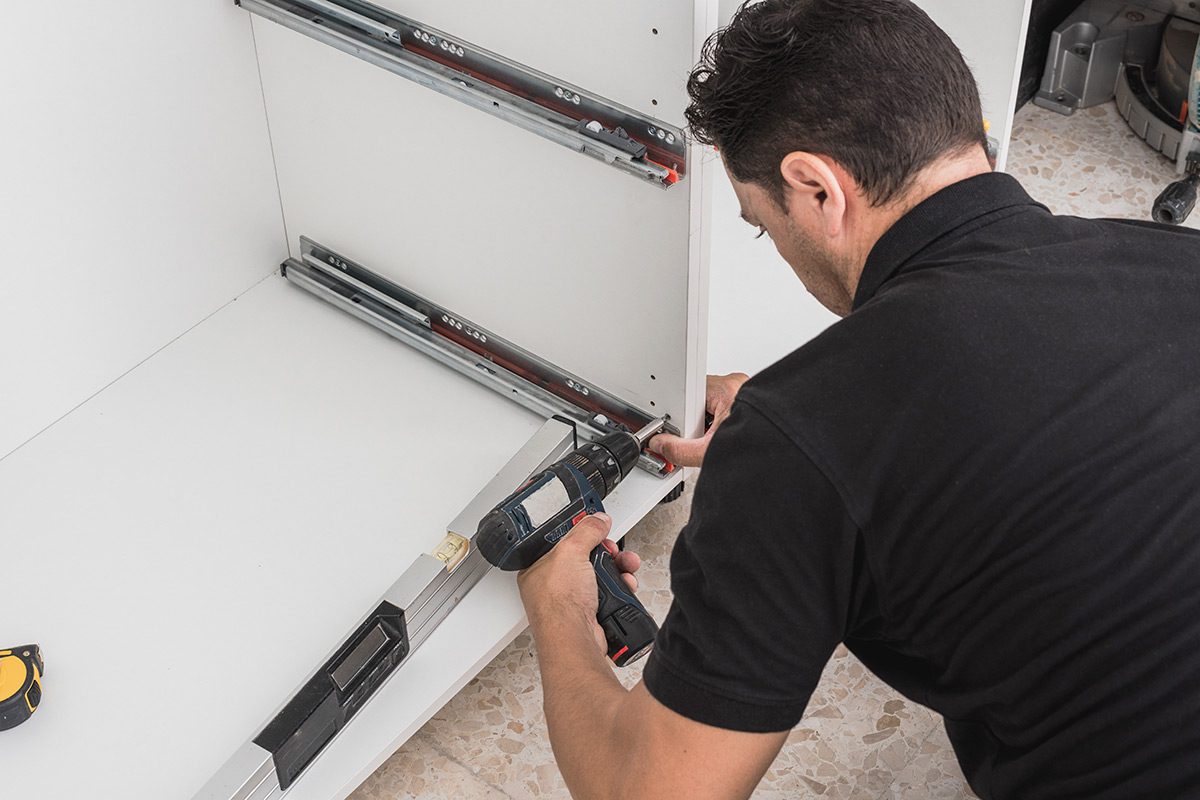
If you are updating your bathroom or retrofitting new cabinetry, deciding on the right drawer slide can be daunting. With so many options to out there; mount, extension type, slide length, limits on weight, and finishes, how do you know which one to choose for your project? In this post we will discuss one of the most popular, bottom mount.
Tools You Will Need:
- Safety Glasses
- Saw
- Screwdriver or Drill
- Tape Measure
- Pencil
- Chisel
- Hammer
- Nails
- Level
- Combination Square
*Warning*
When using with power tools, always wear safety glasses to help protect your eyes from debris.
Why Choose A Bottom Mount Drawer Slide?
Using this mounting method allows you to have your drawers almost the full width of the drawer opening—minus 1⁄8 inch on each side, giving you more storage space than with other types of slides.
Using one slide (around $8 to $20 per pair) in the middle of the drawer keeps hardware costs down.
When you use one slide for each drawer, it reduces the weight-carrying volume to less than half that of a similar drawer that has two slides. (Single bottom-mount slides typically rate for 25-pound volume.) For the mounting screws to take hold, you will need to make your drawer bottoms 1⁄2 inch thick, or possibly add a space if you are using thinner bottoms. A lot of bottom-mount slides are 3⁄8 inch thick but leave 5⁄16 of an inch underneath your drawer bottom for mounting. The additional 1⁄16 inch provides clearance between the sides of the drawer and the face frame after being mounted.
Attach To The Drawer First
- For drawers that are inset, align the slide adjacent with the front of the drawer and positioned across its width. If your drawers will have a front overlay, notch the drawer box, so the slide sits adjacent with the drawer boxes front face.
Cut a notch for the slide at a minimum of 1/8 inch wider on each side, to the drawer bottoms depth. Then using a chisel, take out the waste.
- Center the slide and fasten it with screws at the back and the front.
With one screw retaining the front of the slide, using a measuring tape, measure from the drawer side to be sure that the slide is parallel and centered.
Add The Cabinet Mount
- Install the slide to the front of the face frame, attaching it with one screw. For drawers that are inset, first, attach a mounting block 3⁄4 inch thick inside the face frame in which you can screw the slide.
Be sure to mount the slide 1/32 inch back from the front of the face frame. You may need to angle the screw a little bit to keep clear of the above frame.
-
- Attach the slide to the back of the cabinet using a mounting bracket, make sure it’s square to the face frame. If your cabinets have a dust frame, you can mount the slide to it rather than the back.
- To aid in supporting the drawer, add self-adhesive or nail-in glide pads to the face frame where the drawer-side bottom edges are allowed to pass.
Glide Pads
Glide pads not only stop the drawer from rocking on an individual slide, but they also make drawer operation smoother.
NATIONWIDE DRAWER SLIDE SUPPLIER
If you have broken drawer slides, or are maybe starting a new cabinetry project, or are just remodeling your kitchen or office, Drawer Connection has the widest selection of drawer slides in Phoenix. We have soft close, push to open, self-close, and many more quality options that keep your drawers opening and closing smoothly. Visit our site to get started or call us today at 877-917-4887.


