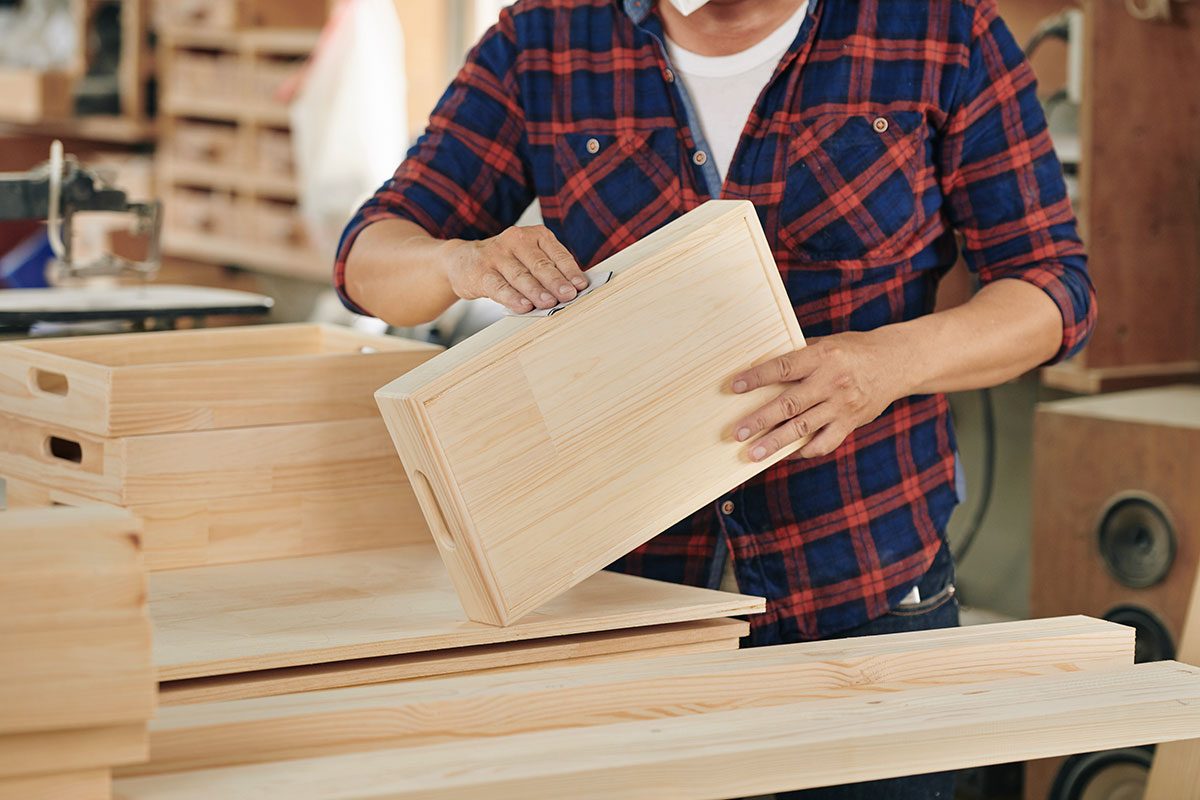
Are you looking for information on “How To Build A Drawer Box” or how to “Build Your Own Drawers“? Well, we put together a pretty solid guide that should show you step by step how to build your own drawer box at home. With many DIYer’s, the terms “drawer dados” or “drawer dovetails” is enough to end them running off. However, there are simpler ways to create a drawer without the use of a router or table saw, while still ending with a beautiful and sturdy product. Are you stressed over fasteners being visible? Our design hides them in a clever way so they are not visible, giving a sturdy appearance. Keep reading to learn how you can build a drawer of any size quickly, and simply.
- Required Time: 1 hour 30 Minutes
- Difficulty Level: Pocket hole joinery and square cuts make this project easy and comfortable for beginners.
Step-by-Step Instructions
Follow these step by step instructions for how to build a drawer box. Tools will be required for some steps such as saws, drills, and other hand tools.
-
Cutting parts
By using the cut list and a miter saw, cut the 1×3, 1×6 and square dowels to the correct size. Mark the cut lines on the plywood’s face with a framing square. Position painter’s tape on the cut lines, if necessary mark again. By using painter’s tape, it helps prevent splintering plywood when cutting. Using a circular saw, cut along the lines. Then, sand the cut edges lightly to remove any burrs from around all parts.
-
Drilling Pocket Holes
Place from and back pieces of the 1×3 on your work surface. Then, with the use of a Kreg Jig drill out two pocket holes, one on either end of the boards.
-
Drilling Drawer Face Holes
Position the 1×6 drawer ace on your work surface, pocket holes should face downwards. Then, use your tape measure with a pencil for making two marks located 4-inches from each end of your board, and center its width. You will create two pilot holes with a Drill/Driver, which are used later on for attaching your drawer face.
-
Adding Cleats to Front and Back Pieces
On the 1×3 piece, you will position an 18-inch cleat on both the front and back to be flush with the ends and bottom edges. Then, you will apply wood glue to the cleat with a bead pattern. Once you reposition it, you will need to nail it using a pneumatic nail gun with ¾-inch finishing nails to keep it in place.
-
Attaching Cleats on the 1×3 Side Pieces
Remaining cleats should be placed on the 16-inch sides to be centered on the length, while flush with bottom edges. Doing this should create a 1 1/8-inch inset on either end of the cleats. Mark each end of the cleats using a pencil. Cleats should be removed, bead of wood glue applied, and position them in place again. Cleats then get secured with a pneumatic nail gun using ¾-inch finishing nails.
-
Dry fit Sides
You should set the 1×3 boards upright so cleats are running along the bottom edge. Then, the front and back pieces should have glue applied, positioning them between the sides to be flush with each end.
-
Assembling Sides
As we are not using fancy tools in this guide, we will use a basic method to hold the square joints for the assembling process. Position a block in the corner, ensuring it is an exact square. Then, clamping it to each side, make sure it is tight. This assists in holding piece in the correct position when inserting and driving the 1 ¼-inch pocket screws into the pocket holes and adjoining each side. When each of the four corners have been assembled, check that the assembly is square, then recheck with a framing or speed square. Measure corner to corner.
-
Inserting Plywood Base
Place a bead of wood glue on the upper edge of every cleat. Place the plywood on the inside of the frame, ensuring they are on the cleats.
Tip: After painting or staining drawers, running a small clear caulking bead along the edge of your plywood base can help with keeping dust from getting between the 1×3 boards and plywood. In addition, if you plan to place heavy objects in the drawer, you should consider using 1/2-inch plywood.
-
Attaching Drawer Face
On the 1×6 face, center the front of your drawer. Based on the application used, you should let the drawer face hang under the drawer box. Then, mark the position the drawer is hanging on to the 1×6. Remove the drawer, applying wood glue in the marked space, reposition your drawer. With a Drill/Driver drive in the 1-inch wood screws using your pilot hole in the front drawer and backside of your 1×6 drawer face.
Tip: To achieve a perfect fit, it is best if you completely install the drawer box prior to positioning and attaching the drawer face.
Buy Drawer Boxes Online
If you don’t have the time, tools, or woodworking skills to build your own drawer boxes but need drawer box replacements for your kitchen or bathroom DC Drawers is happy to build the replacement for you. Simply take measurements for how wide, high, and deep you need the new drawer box to be and we will fabricate your replacement drawer box and ship it to you. If you have any questions about how to measure for your replacement or would like to place your order by phone please call 877-917-4887.


